Another Practice at Handmade Stamps
Hi Everyone, Shari is back in the room! Well, in the blog anyway, 😂.
I have been trying my skills again at the handmade rubber stamps. I have designed a flower stamp and a logo for Sharon Golding Designs… just the initials.
Having bought a supply of rubbers, I got out the gouger again and set to work. After drawing my design and transferring it to the rubber (back to front so that it comes out correct when inked), I started removing the negative space around the design with the gouger. Care must be taken especially close to the design as one false move could destroy the whole piece. So if you do try this yourself, remember to take your time and remove just a little at a time.

Using the gouger to remove the negative space around the flower design

Taking care not to remove any petals from the design.
After a while I used my trusty penknife to remove more rubber enabling the design to stand out.

The penknife used with care flattened out the cutaway sections and really made the design stand out.
I then went to work on my logo design.
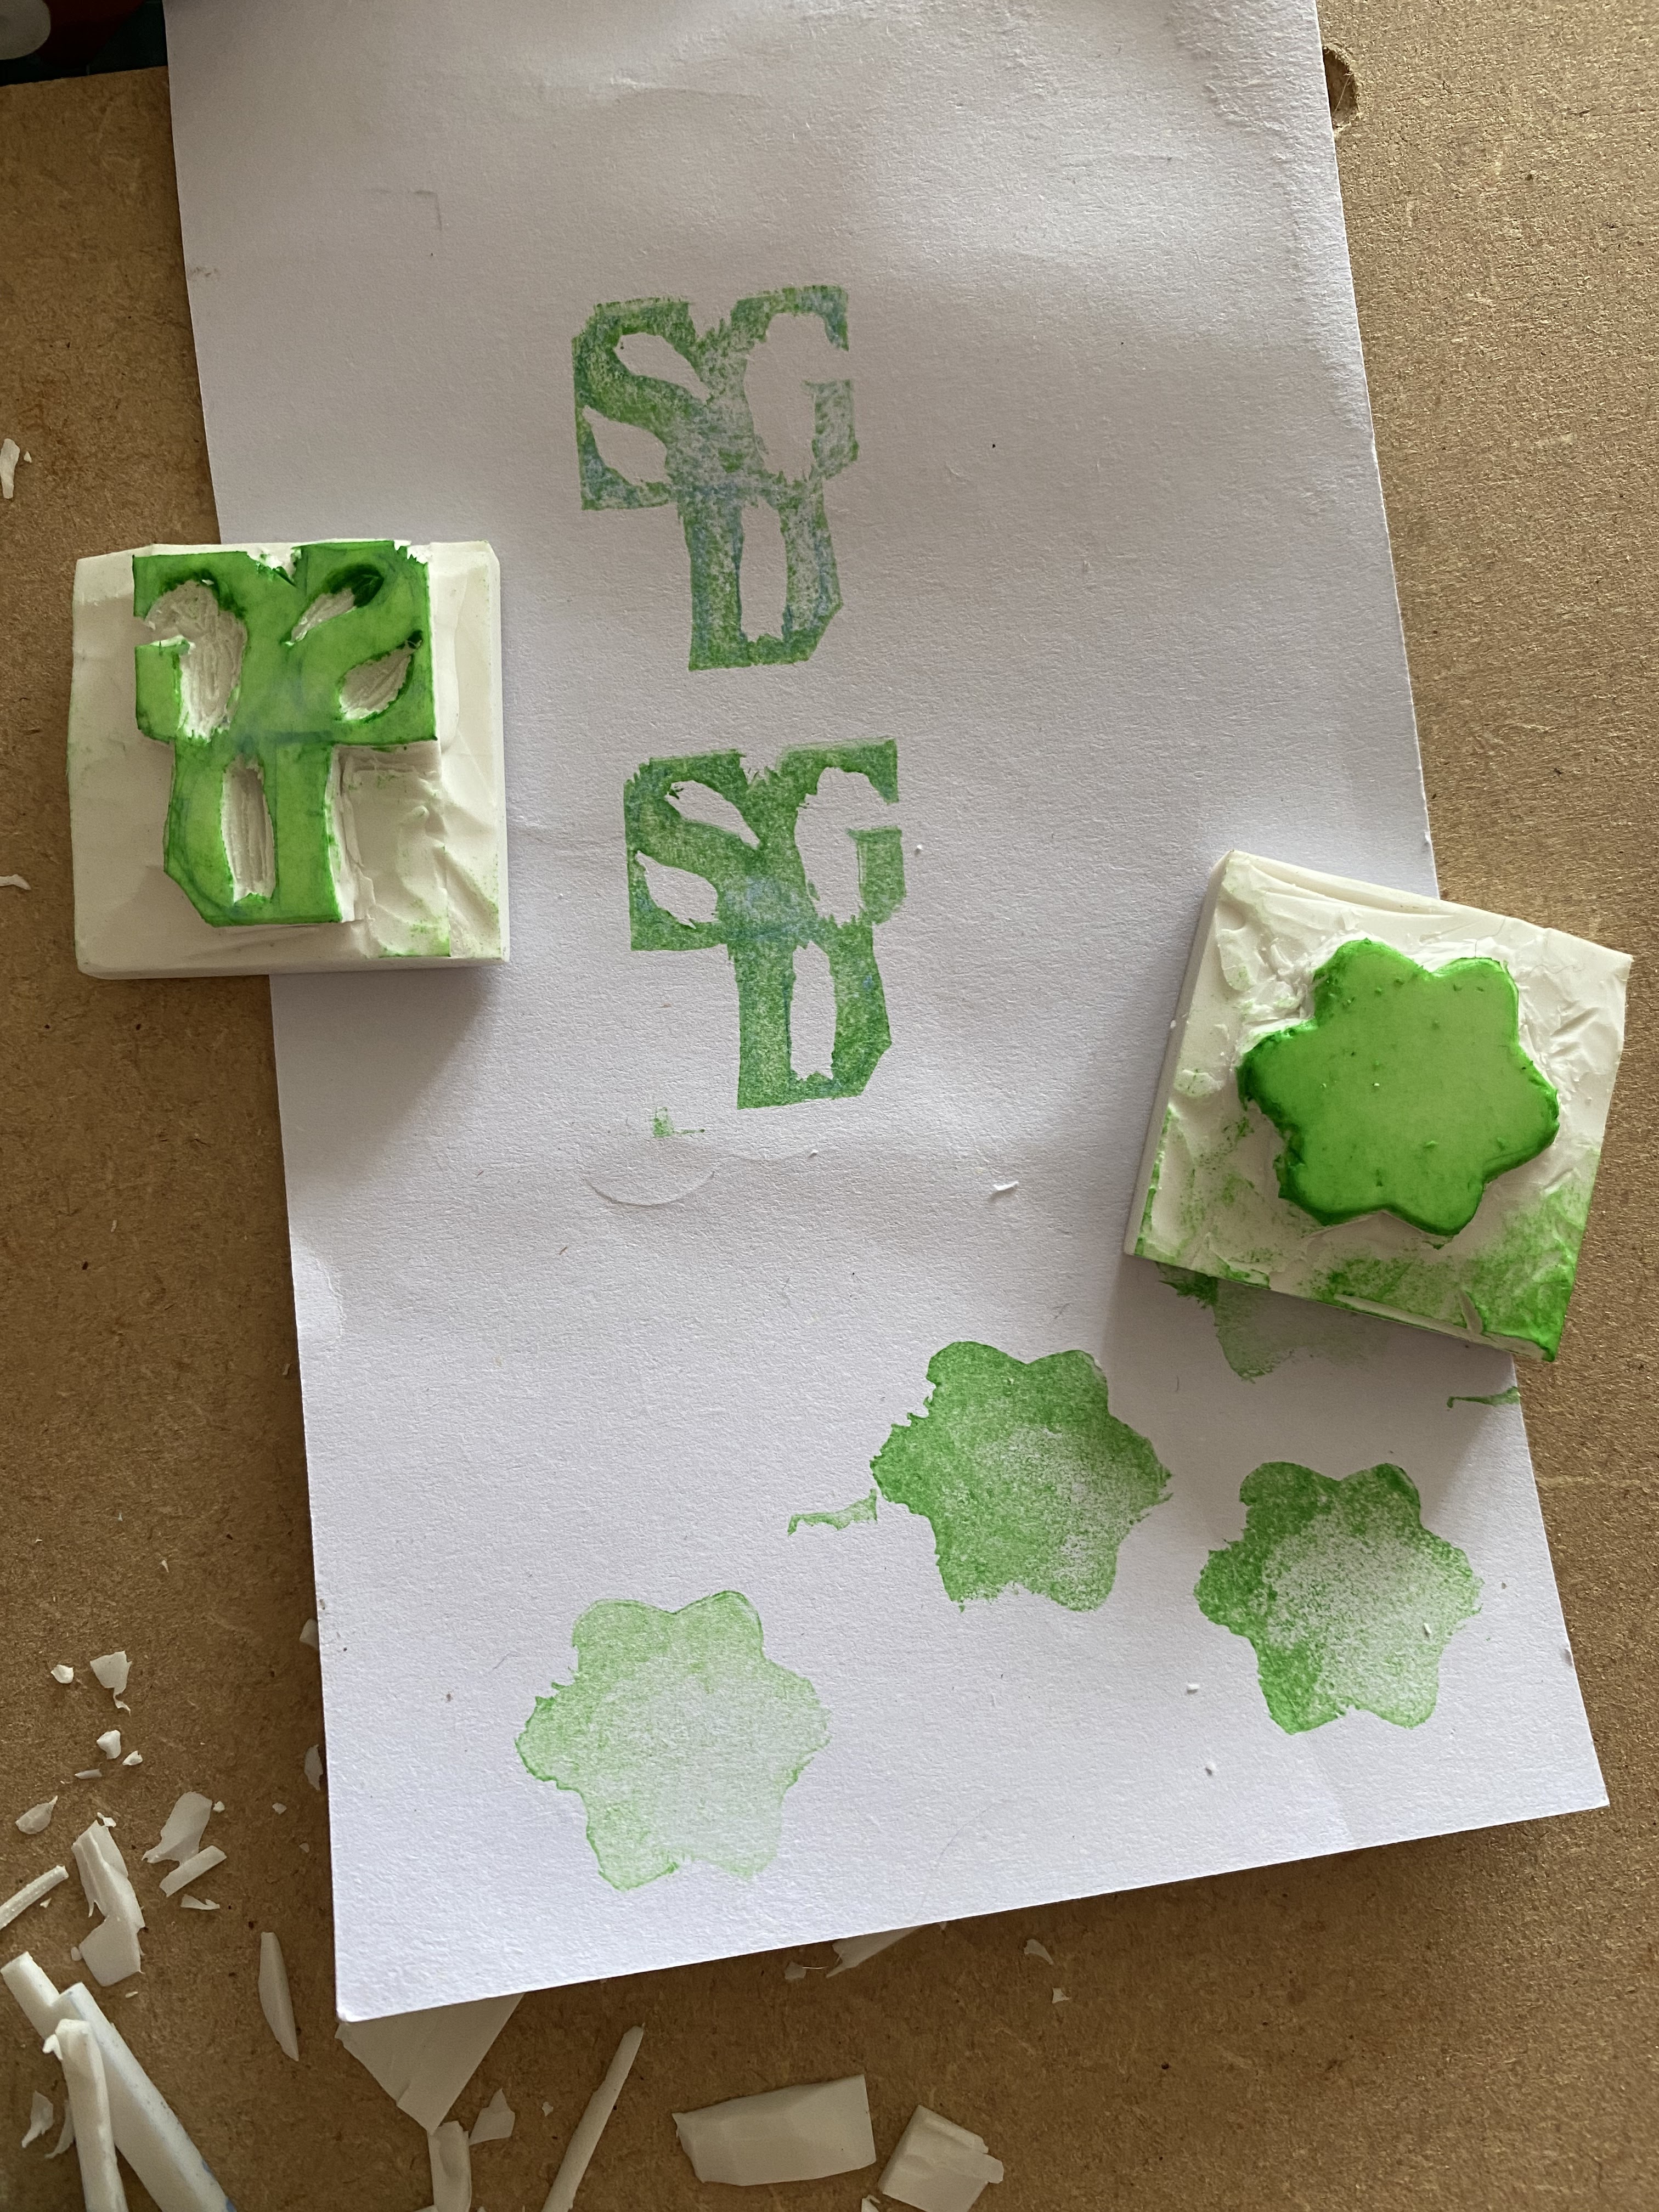
SGD for Sharon Golding Designs
Inked the stamps and stamped on to a scrap of paper to check all was correct.
I must admit I was very pleased with the logo. The flower however, could have done with perhaps some work in the middle to define the petals and the centre, but heyho, it’s all a learning curve and I will bear it all in mind for next time.
I hope you enjoyed this project and if you have any questions feel free to ask in the comments below. Let me know if you try out the stamp making for yourself. But beware! It can be addictive! 🤩
Signing off for this week, join me again next Thursday for my next project.
Best wishes
Shari
💕


Comments
Post a Comment